 This picture above is applied some effect to make it look colder by adding more the blue color. Now I will guide you step by step how to make this effect. Let's start with the original picture.
.jpg) Step 1: Open the picture with Adobe Photoshop and then Duplicate it by going: Image->Duplicate
Step 1: Open the picture with Adobe Photoshop and then Duplicate it by going: Image->Duplicate Step 2: on the copy of your picture, go Image->Mode->Lab Mode, and then you go to to the Channel tab
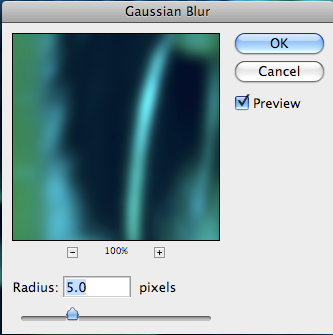
 Step 3 (Working on Channel a): click on the Channel a to active it and then you go to Filter->Gaussian Blur , set 5 pixels
  Next, you press Command+L or Control+L on Windows, and a tab should appear. Now you set the Input Levels: 77, 1.00, 255
 Step 4: Click on the Channel b, for this Channel, you do not need to apply Gaussian blur effect ^_^. Next, press Command+L or Control+L on Windows, you should set the Input Levels: 77, 1.4, 255
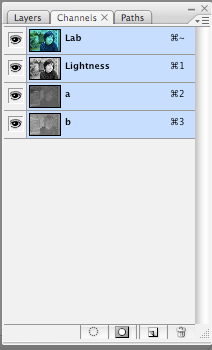
Step 5: you should select all the channel in the the Channel Tab( as the picture below)
 And then, press Command+C or Control C on Windows to copy these channels
Step 6: go back to your original picture, and then press Command+V or Control+V on Windows to paste
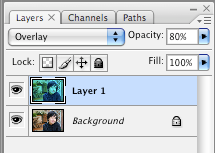
 And then you set the Mode of new layer to Overlay, and then you would set the opacity from 60% to 80 %.

1 comment:
Ok i did see your work but actually i like the original picture :D . I think in this case you should put more warm color or green color (i like the Photoshop Technic tutorial!) to this picture. Adding more blue tone make your picture look like in wrong white balance. Hehe. Anyway, just some self opinion and keep going :))
Post a Comment