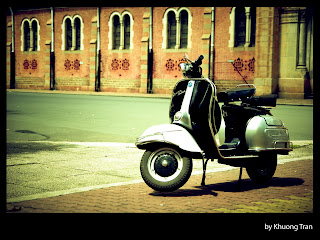
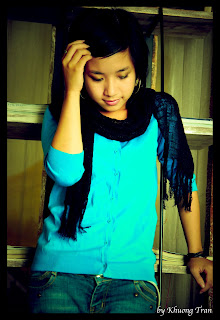
 Okay, in this entry i will give you a brief introduction how to use Photoshop CS3 to edit JPG file as RAW file ! (how cool is it!). After that, i will show you how to use this fantastic feature to make the effect as the picture above.
First of all, to archive this feature:
1) In Mac OS X: Photoshop->references->File Handling->File Compatibility-> check the box Prefer Adobe Camera Raw for JPEG files. Press OK
2) Open a JPEG file, you should see the box below. This is the powerful tool to edit RAW file ( but now we can use it to edit JPEG file ^O^)
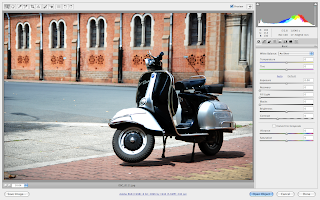 Now look closer to the right of this box you will see the Tab that allow you to modify picture. I will show you step by step how to go throw these Tabs.
Basic Tab:
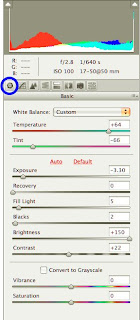 Because the picture is not clear so i will write down these values and u just follow my instruction ^_^:
-Temperature:+64
-Tint : -66
- Exposure: -3.30
- Recovery : 0
- Fill Light: 5
- Blacks: 2
- Brightness: +150
- Contrast: +22
- Vibrance & Saturation: 0
Go to the next tab
Lens correction:
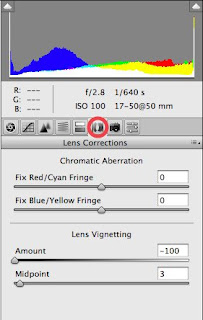
Lens vignetting: used to make 4 corners of the picture brighter or darker. In this case we set 4 corners darker (to focus to the object)
Camera Calibrication:
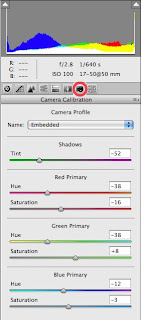 With this tab you can set the value of your image in 3 different channel colours: Red Grenn Blue
Shadows
Tint:-52
RedPrimary
Hue: -38
Saturation:- 16
Green Primary:
Hue:-38
Saturation:+8
Blue Primary:
Hue: -12
Saturation:-3
Presets Tab
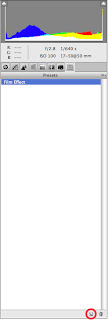 By using the Presets tab, you can now save your settings for the next pictures.
Press the button in the right bottom ( next to the Trash).
IMPORTANT: If you now click on the Open Image button, Photoshop CS3 automatically modify your original pictrure!. To avoid that, press the alt button on your keyboard , the Open Image buuton will change to Open Copy, click on that and Photoshop will apply your settings to a copy of your original picture.
Now you can add border to your picture (by using Canvas Size tool) to make it look more professional.
 Reference: Chỉnh tone màu ám xanh – phim nhựa :http://vnphoto.net/forums/showthread.php?t=17329
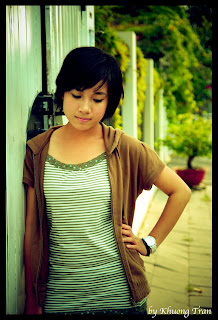
Bonus: Mai Model

2 comments:
...Is it just a tutorial for MAC?
...How about Window?...Is it the same?
..anyway, nice tutorial and edition...I like the color of image :))...
WOW. Cool effect! I wish i could do my picture look like in cinema. I had try to found this technique around the internet. This tutorial was help me :D Thanks for sharing this cool effect. Hehe.
Post a Comment